


Clinker fencing is an elegant and practical choice. Regardless of whether you choose brick (when building fencing from scratch) or clinker slip (when renovating an existing structure, e.g. reinforced concrete), thoroughly built clinker fencing will be a decoration of your house and the whole yard. The choice of colors and type of brick will obviously depend on the environment. For example, if a house with clinker façade already exists in the neighbourhood, it is worth matching the color of brick fencing with that object.
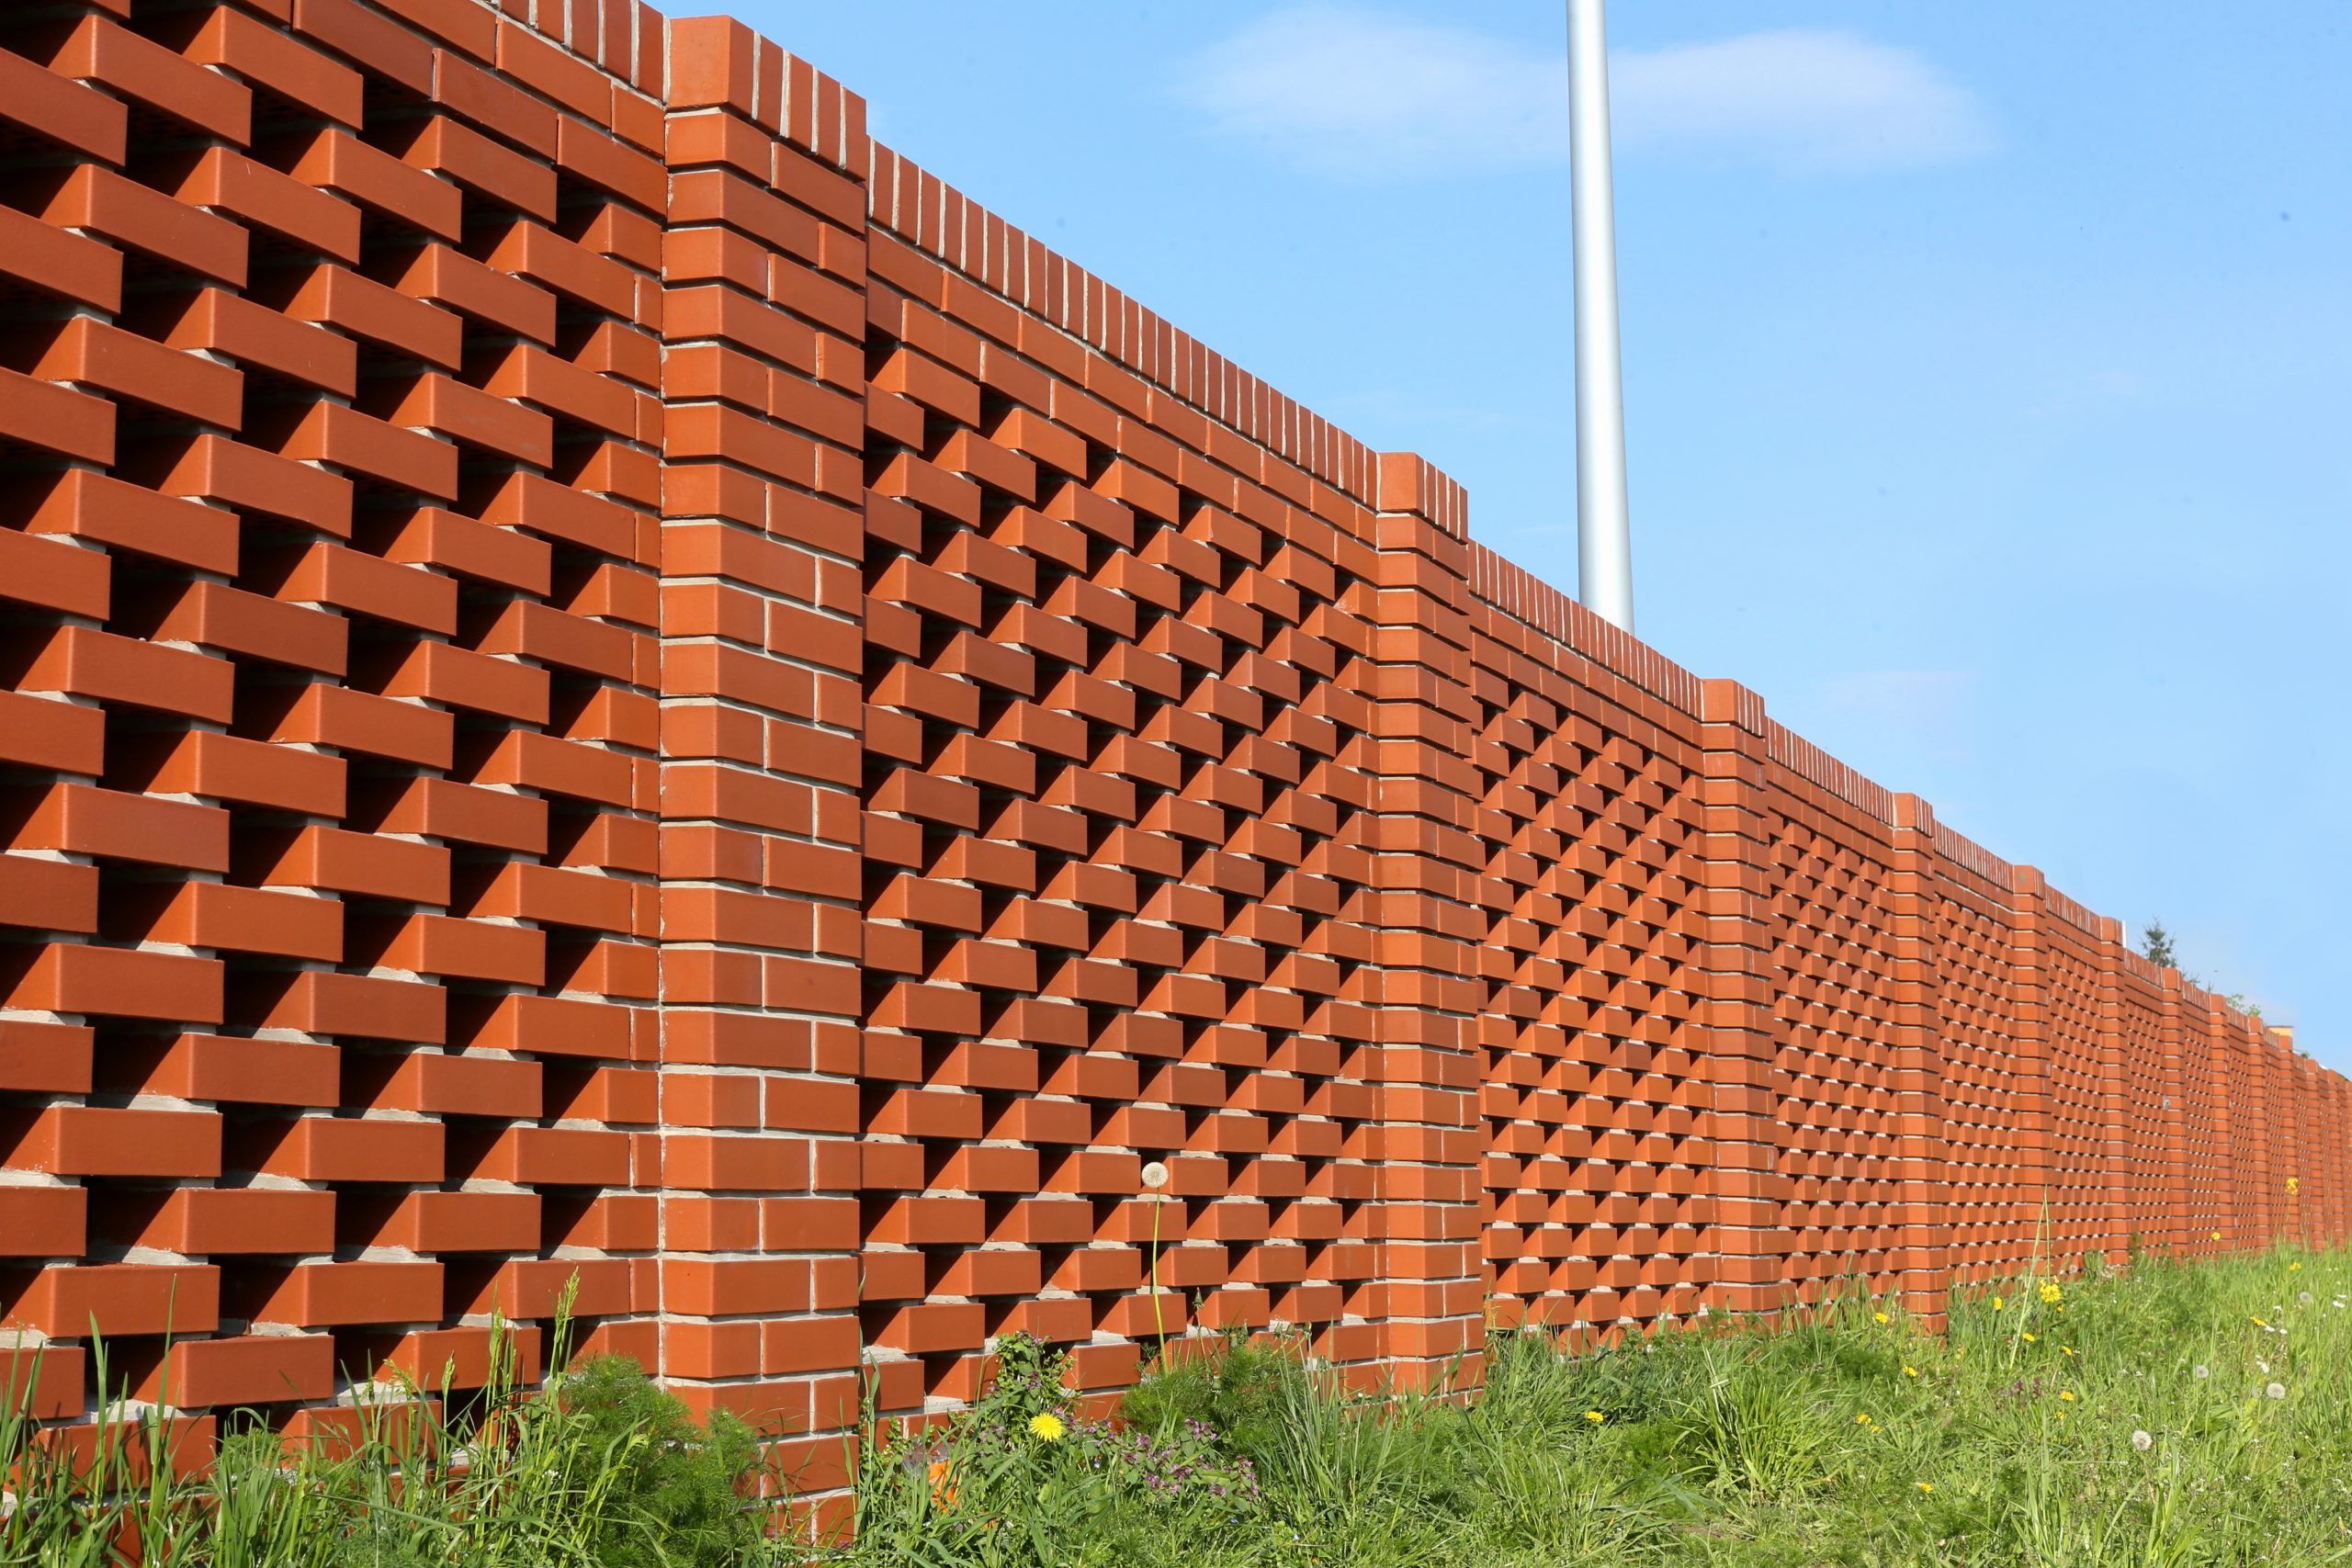
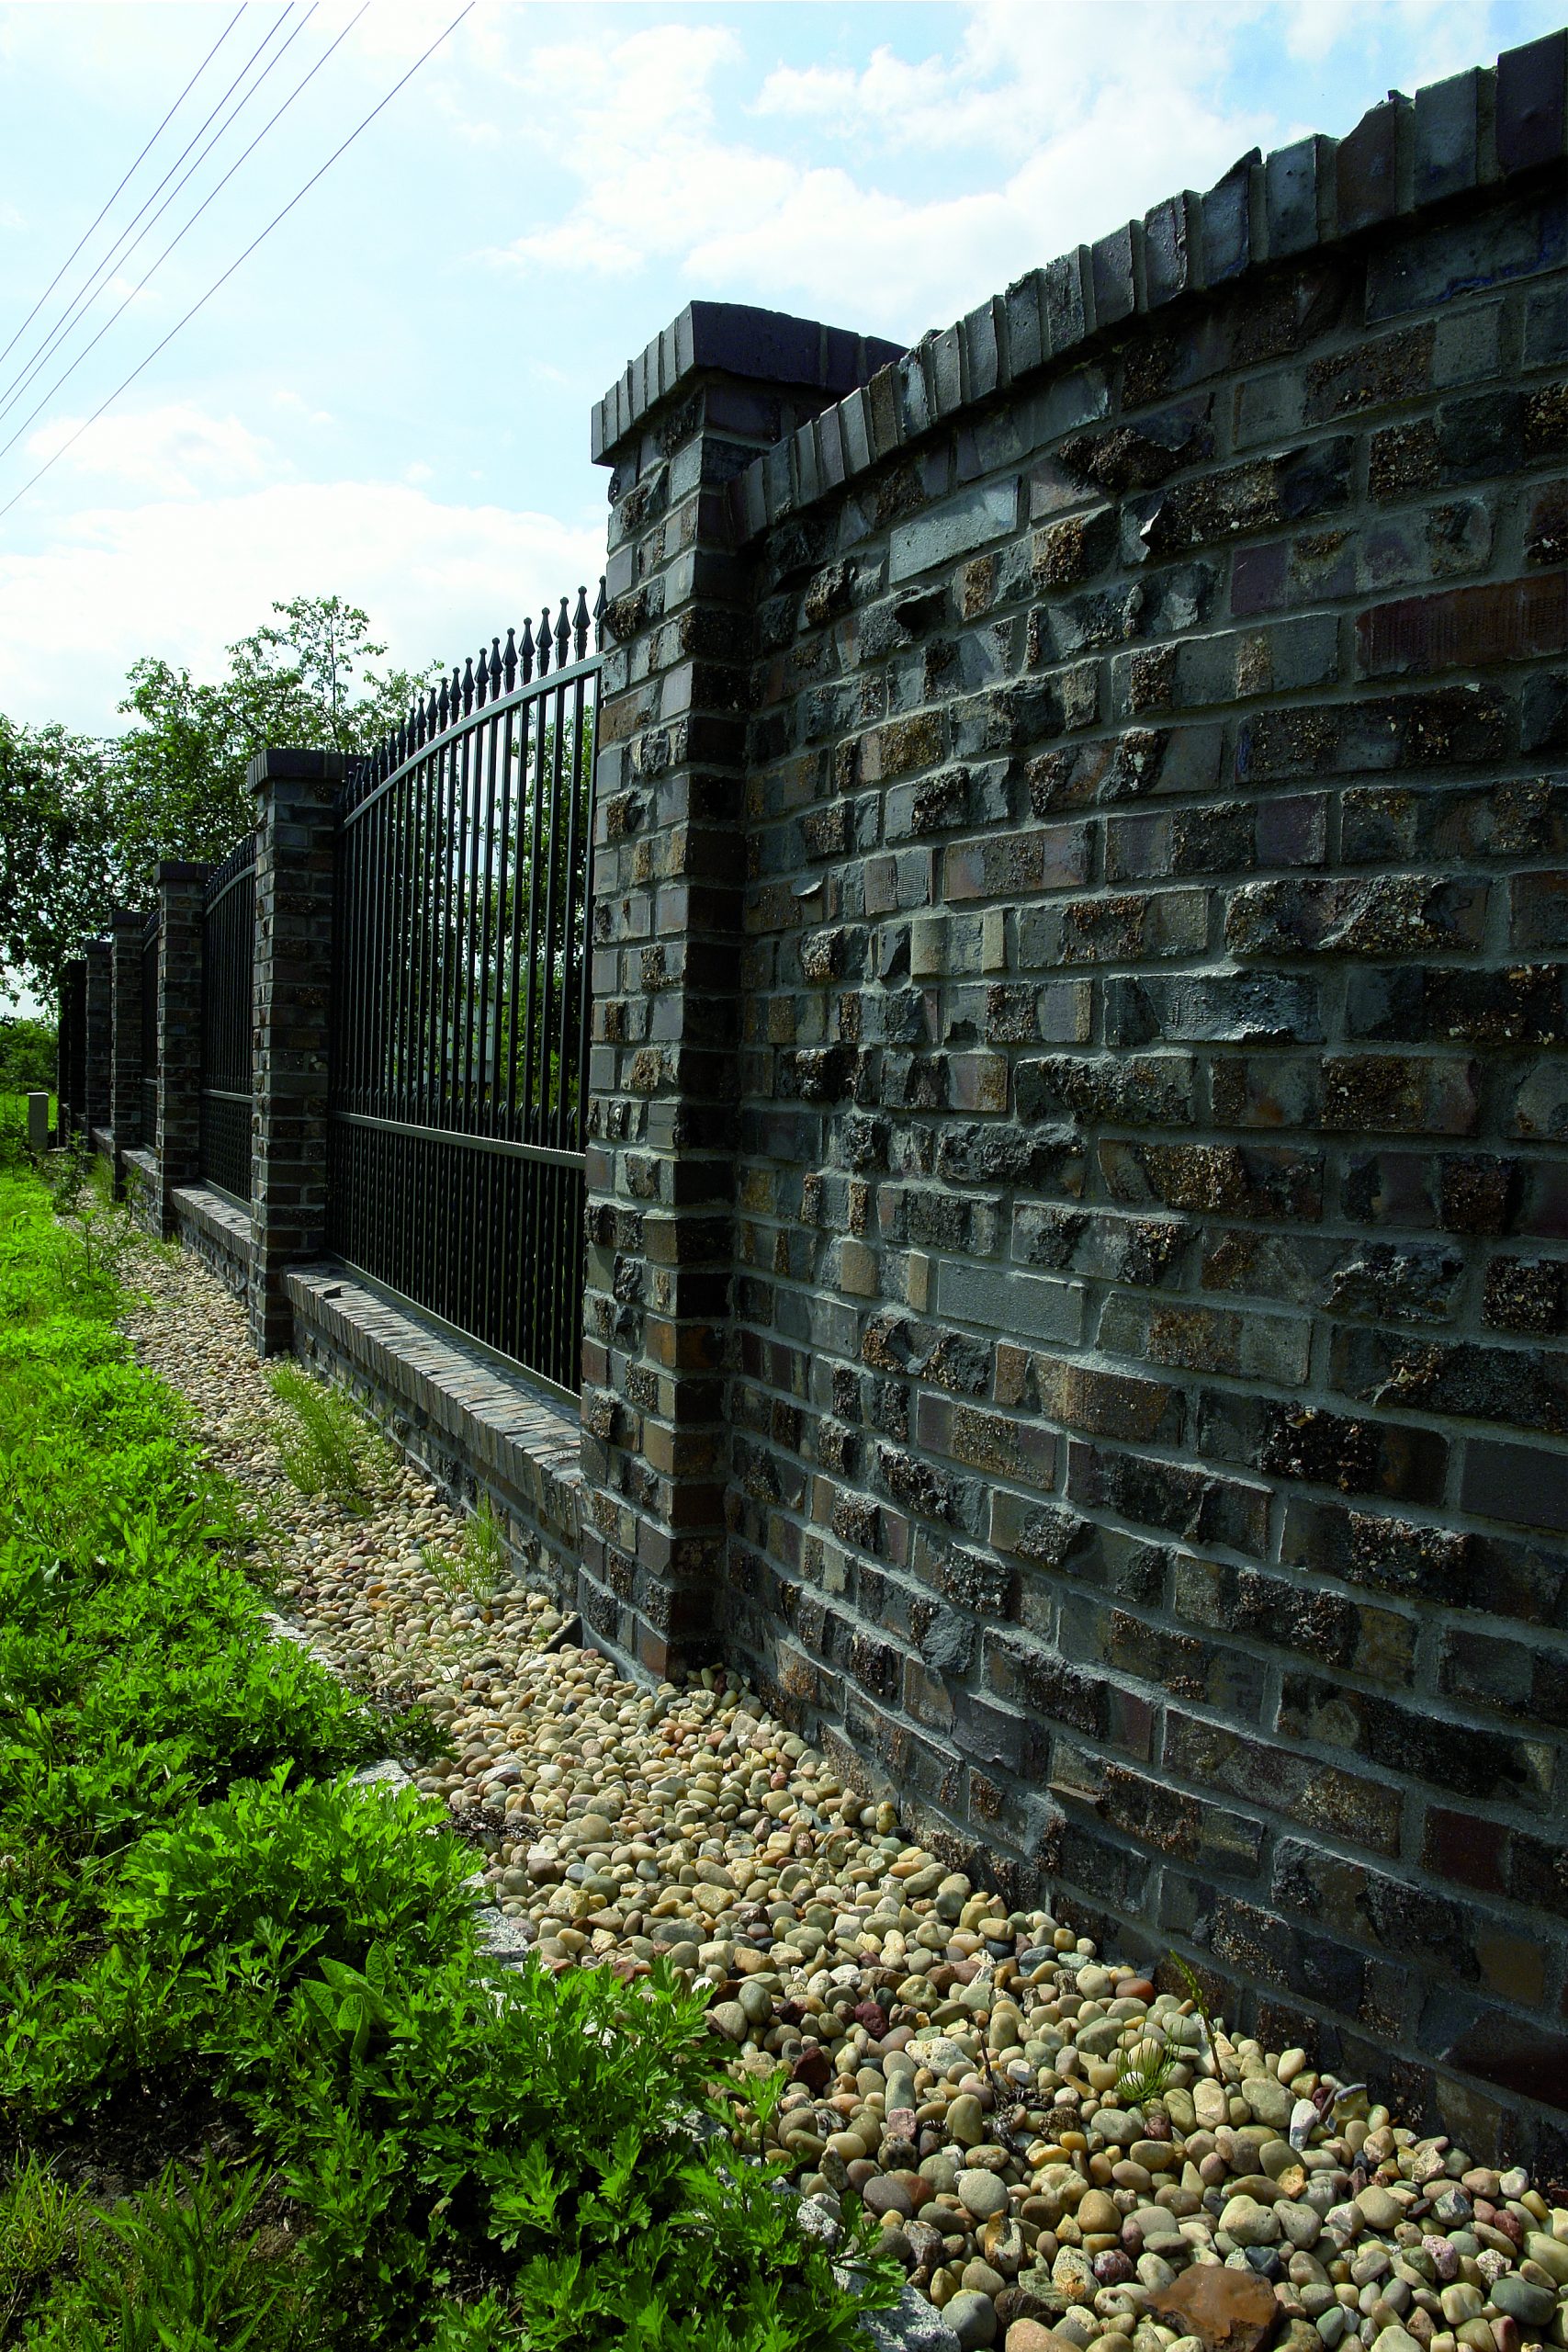
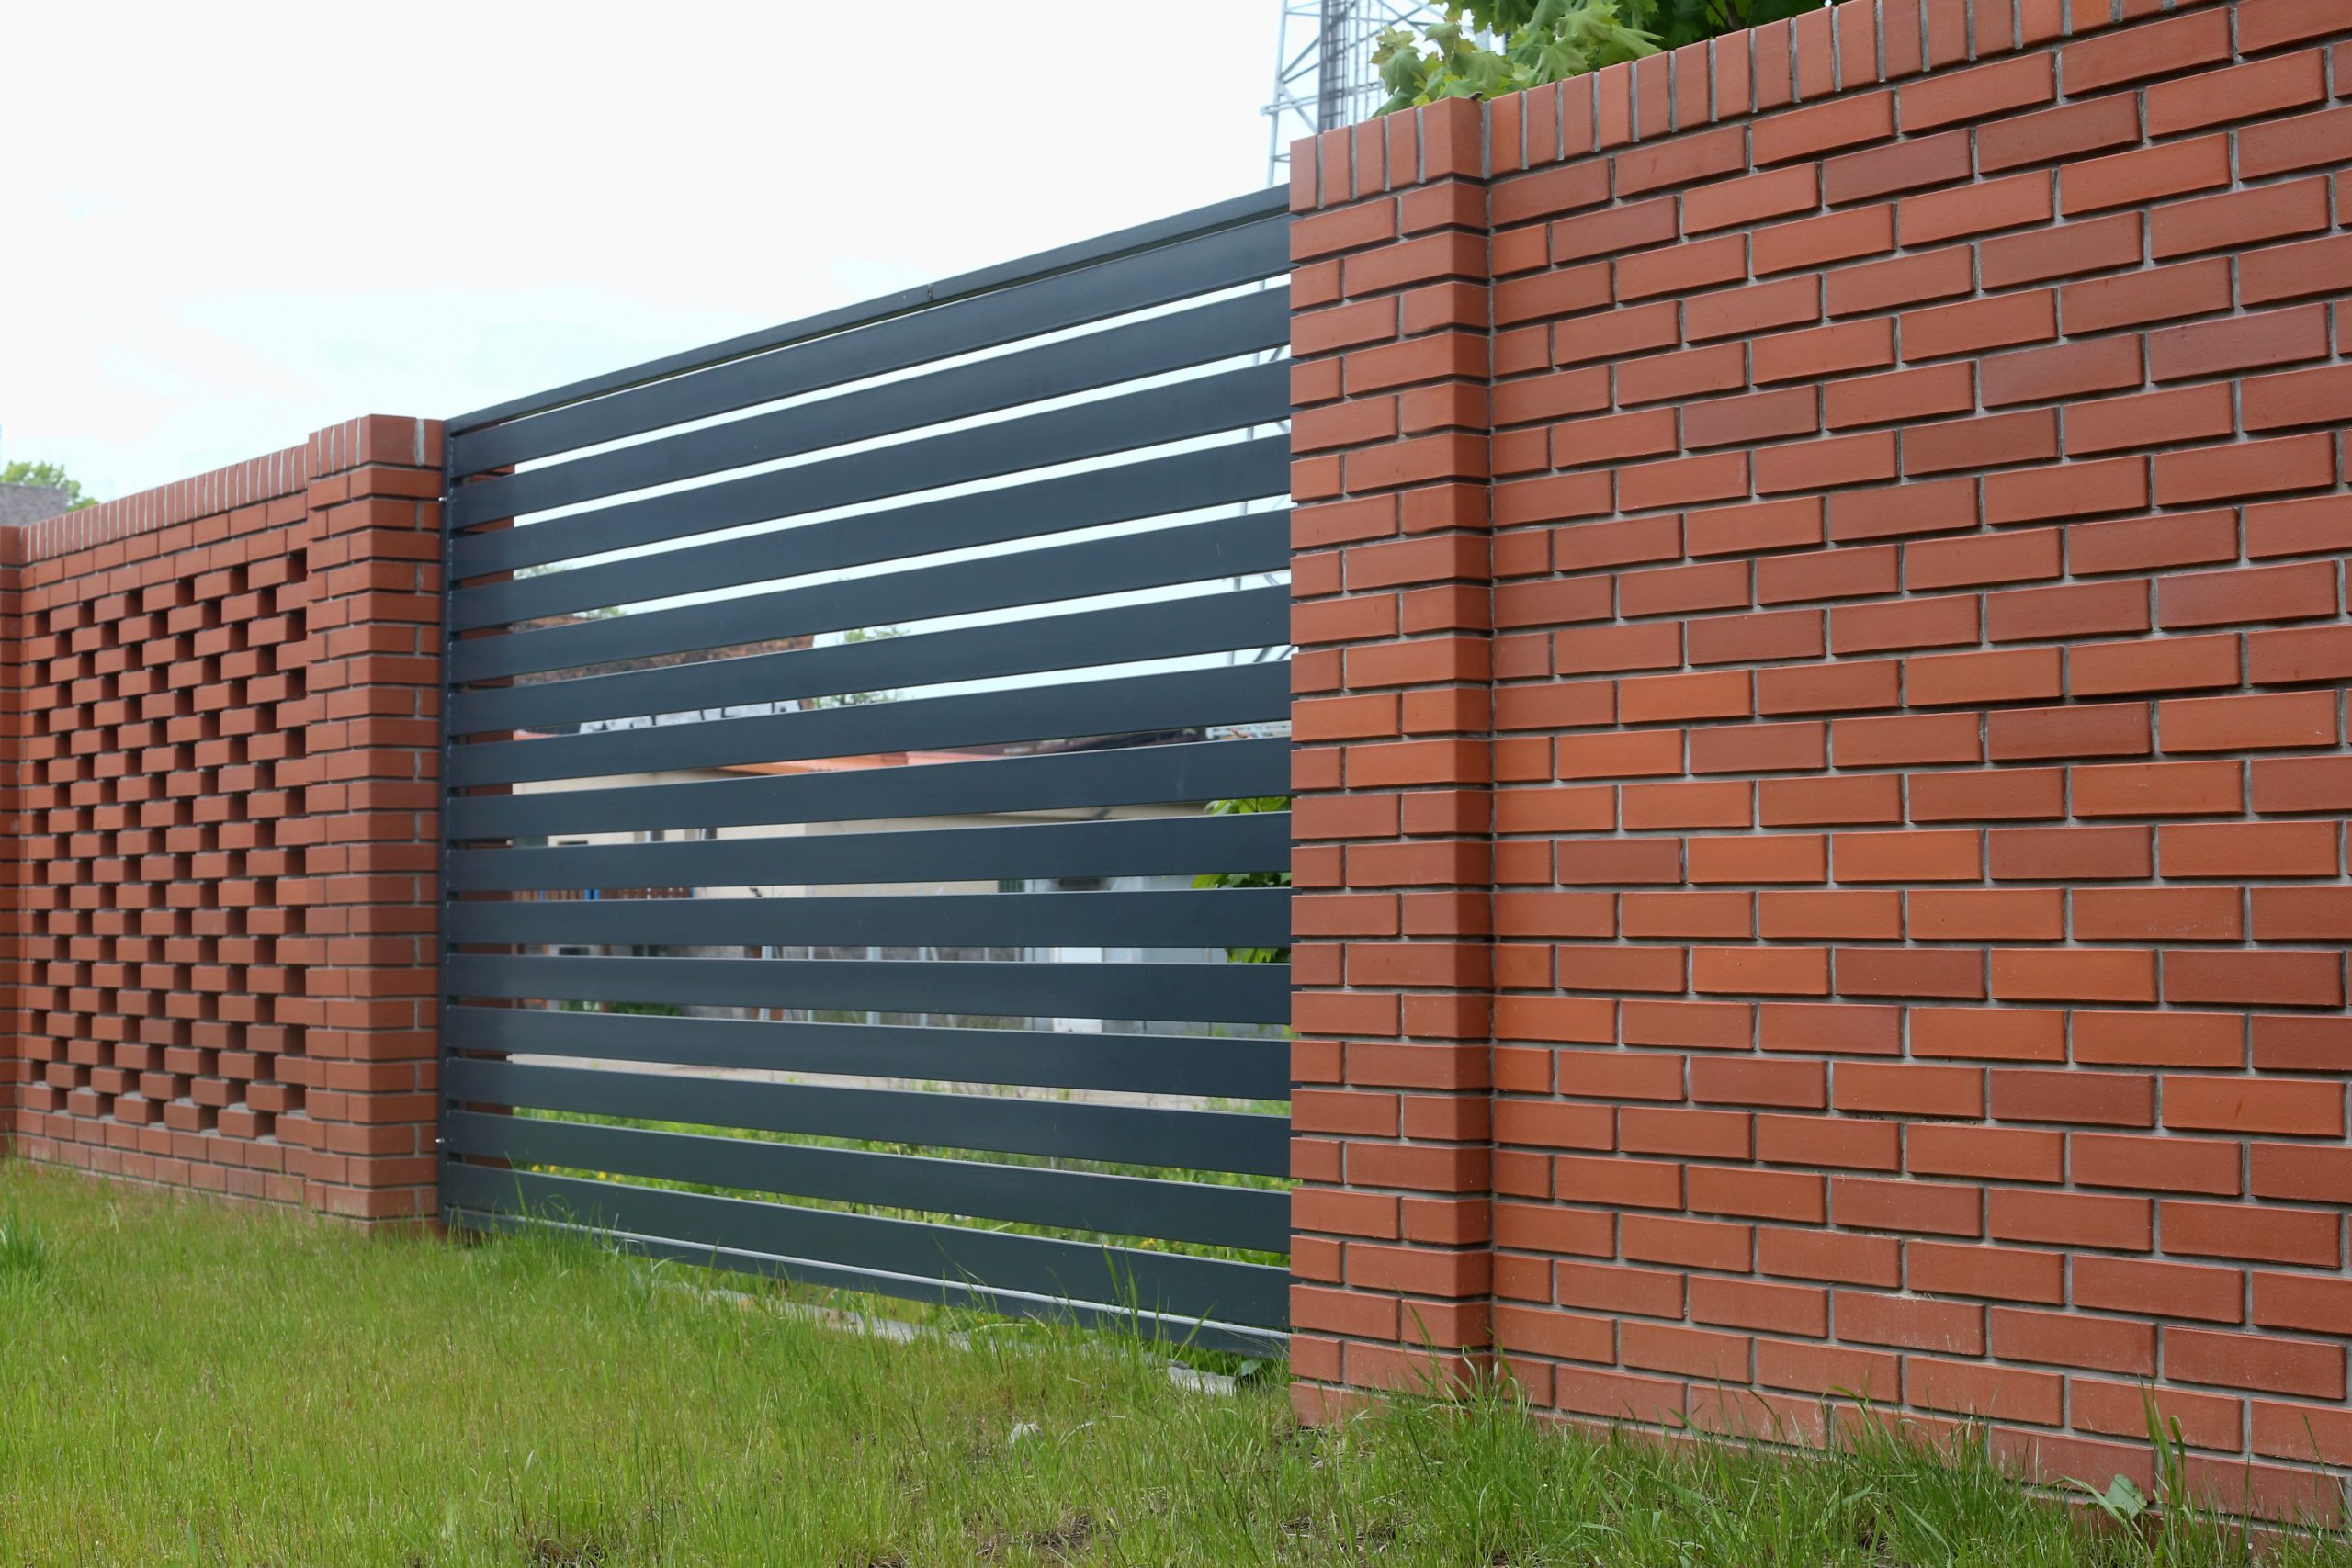
Below are examples of fencing built with the use of clinker materials.
When building fencing you should know that:
– a building permit is not required to build fencing, but in the case of fencing from a street or a public road side, you must notify the relevant authority 30 days before the start of work,
– fencing between neighboring, which height does not exceed 2.2 m, plots does not require notification,
– fencing cannot cross the plot boundary,
– the gate and wicket must not open outwards, should not have steps that obstruct the passage of disabled individuals,
– the minimum clear width of the wicket is 90 cm, and the entrance gate – 240 cm.
Clinker fencing: Which brick should I choose?
Fencing can be built with either perforated, slotted or solid bricks. However, for purely economical reasons, it is worth choosing perforated or slotted bricks and using solid bricks only for the necessary ends and finials of the brickworks or piers. One of the most important, if not the most important part of every structure is proper pointing – it is the best to use so-called flat joint. This is vital because water is the greatest danger to improperly constructed perforated brick structures. In some cases, the brick can be damaged if water gets into the brick perforation and freezes. It can result from improper bricklaying, especially pointing. It is also a direct cause of so-called efflorescence.
How to lay a foundation for a clinker brickwork?
A monolithic foundation is not required for a small 30 cm clinker brickwork. The brickwork base simply needs to be buried in the ground about 50–60 cm deep. However, if we plan to build a 1.5 m high brickwork, the foundation level should be lowered to the ground freezing depth level (0.9–1.1 m), which depends on the region. The width of the brickwork base depends on to the width of the brickwork. It needs to be narrower than the brickwork by about 3–5 cm on each side. For instance, for a 25 cm wide brickwork, the width of the brickwork base can be 20 cm. The drip will partially protect the foundation from rainwater flowing down the brickwork façade. The brickwork base should be 5–10 cm higher than the ground level. It could be useful to remove soil from the nearby brickwork base (to the depth and width of a shovel) and replace it with gravel. Such trim will allow quick moisture drive-off from the foundation area and will also make the clinker brickwork always clean. Before laying the first layer of clinker bricks on the foundation, dampproof insulation should be installed, e.g. in the form of building paper, foil or liquid insulation.

